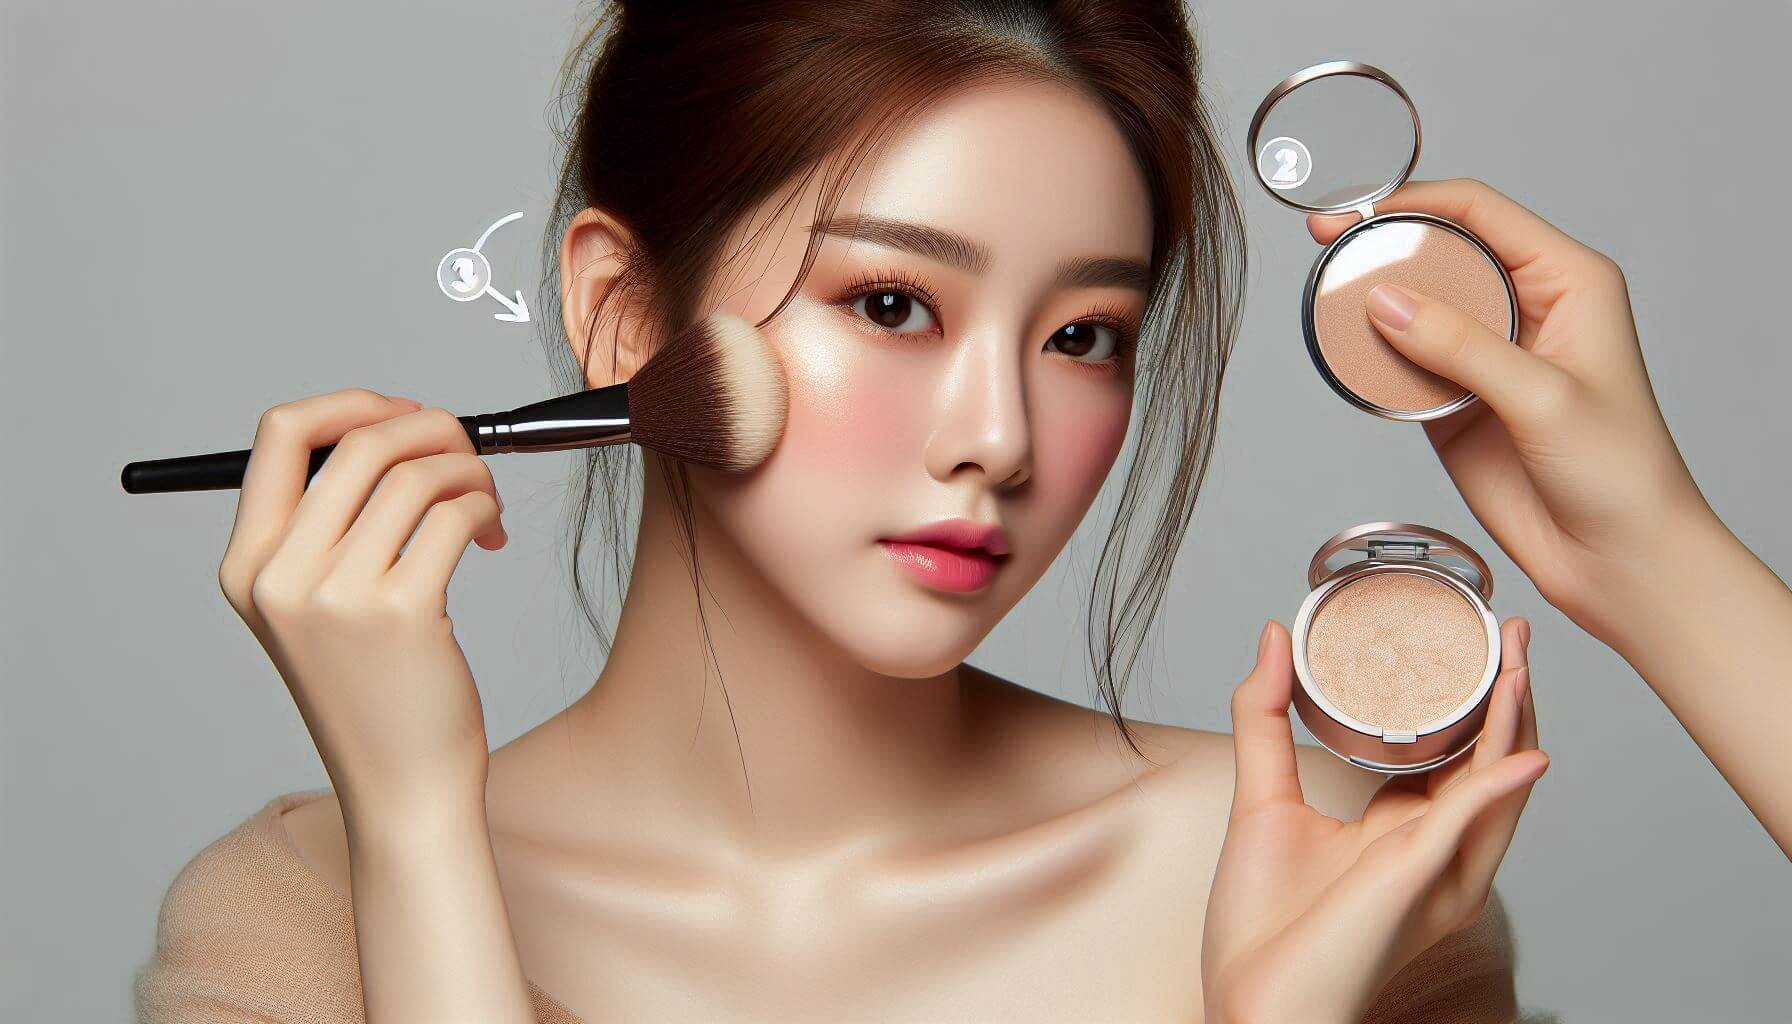
How to apply powder highlighter for Beginners
Powder highlighter is a fantastic way to add a radiant glow to your face, emphasizing your best features with a subtle or intense shimmer. If you’re new to makeup or just starting with highlighter, this guide will walk you through the steps to achieve a flawless, glowing look.
Step 1: Choose the Right Powder Highlighter
Before you start applying, it’s essential to pick the right highlighter for your skin tone and the look you want to achieve.
- Fair to Light Skin Tones: Opt for highlighters with a pearl or champagne hue.
- Medium Skin Tones: Golden or peachy highlighters work well.
- Olive to Dark Skin Tones: Bronze or copper-toned highlighters add a beautiful glow.
You can find powder highlighters in different finishes—matte, satin, and shimmer. For beginners, a finely milled shimmer or satin finish is usually the easiest to work with, giving a natural, glowing effect without looking too intense.
Step 2: Prepare Your Skin
Preparation is key to making sure your highlighter looks smooth and lasts throughout the day.
- Cleanse: Start with a clean face to remove any excess oil or dirt.
- Moisturize: Apply a lightweight moisturizer to keep your skin hydrated.
- Prime: If you have oily skin or want your makeup to last longer, apply a primer. Focus on the areas where you’ll apply highlighter to ensure a smooth application.
Step 3: Apply Your Base Makeup
Highlighter should be the finishing touch in your makeup routine. Start with your foundation and concealer to create an even canvas.
- Foundation: Apply your foundation evenly across your face, matching it to your skin tone.
- Concealer: Use concealer to cover any blemishes or dark circles.
Make sure to set your foundation and concealer with a light dusting of translucent powder, especially if you have oily skin. This step helps the highlighter blend seamlessly.

Step 4: Select the Right Brush
Using the right brush is crucial for achieving a well-blended, natural-looking highlight. Here are a few options:
- Fan Brush: Ideal for a light, even application. It’s perfect for beginners as it picks up just the right amount of product.
- Tapered Highlighter Brush: This brush is slightly denser and allows for more control and precision.
- Fluffy Eyeshadow Brush: Great for targeted application on smaller areas like the brow bone and nose.
Step 5: Apply the Highlighter to Key Areas
Highlighter should be applied to the high points of your face—areas where the light naturally hits. Here’s how:
- Cheekbones: Lightly sweep the highlighter on the tops of your cheekbones, starting from the middle of the cheek and blending upwards toward the temple. This adds a lifted look to your face.
- Tip: Use gentle, circular motions to blend the edges for a seamless finish.
- Brow Bone: Apply a small amount of highlighter under the arch of your eyebrows. This brightens the eye area and defines your brows.
- Tip: Use a smaller brush for precise application under the brows.
- Bridge of the Nose: Lightly dust the highlighter down the bridge of your nose. This creates the illusion of a slimmer nose. Be careful not to apply too much—less is more here.
- Tip: Focus the product on the upper half of your nose for a more subtle effect.
- Cupid’s Bow: Apply a small amount to the cupid’s bow (the area just above the center of your upper lip). This gives the appearance of fuller lips.
- Tip: Use your finger or a tiny brush for controlled application.
- Inner Corners of the Eyes: Dab a small amount of highlighter on the inner corners of your eyes to make them look bigger and more awake.
- Tip: A small, pointed brush works best for this delicate area.
- Chin: For a balanced glow, lightly dust a bit of highlighter on the center of your chin. This adds a slight sheen that ties the whole look together.
- Tip: Avoid applying too much, as it can make your chin look overly shiny.
Step 6: Blend, Blend, Blend
Blending is the key to making your highlighter look natural and radiant. Use a clean brush or a damp beauty sponge to soften any harsh lines.
- Tip: For a more diffused glow, you can blend out the highlighter with a fluffy brush using circular motions.
Step 7: Build Up Slowly
If you’re new to highlighting, it’s best to start with a light application and build up gradually. This approach helps you avoid overdoing it and gives you more control over the final look.
- Tip: If you accidentally apply too much, tone it down by lightly dusting some translucent powder over the highlighter.
Step 8: Set Your Makeup
To make sure your highlighter stays in place all day, set your makeup with a setting spray. This step helps lock everything in and gives your skin a dewy finish.
- Setting Spray: Hold the spray about 8-10 inches from your face and mist evenly.
- Translucent Powder: If you have oily skin, apply a light dusting of translucent powder to your T-zone, avoiding the highlighted areas.
Step 9: Check Your Look in Different Lighting
Highlighter can look different depending on the lighting. After applying, check your makeup in natural light to ensure it looks just right.
- Tip: Step outside or near a window to see how your highlighter looks in daylight.
Conclusion
Applying powder highlighter is an easy way to elevate your makeup look, adding a natural, healthy glow to your face. By following these steps, you can master the art of highlighting, even as a beginner. Remember, practice makes perfect, so don’t be afraid to experiment with different techniques and products until you find what works best for you. With the right tools and a bit of patience, you’ll be glowing in no time!

