Last updated on: Tuesday, 24 December 2024 09:35 PM (India Time)
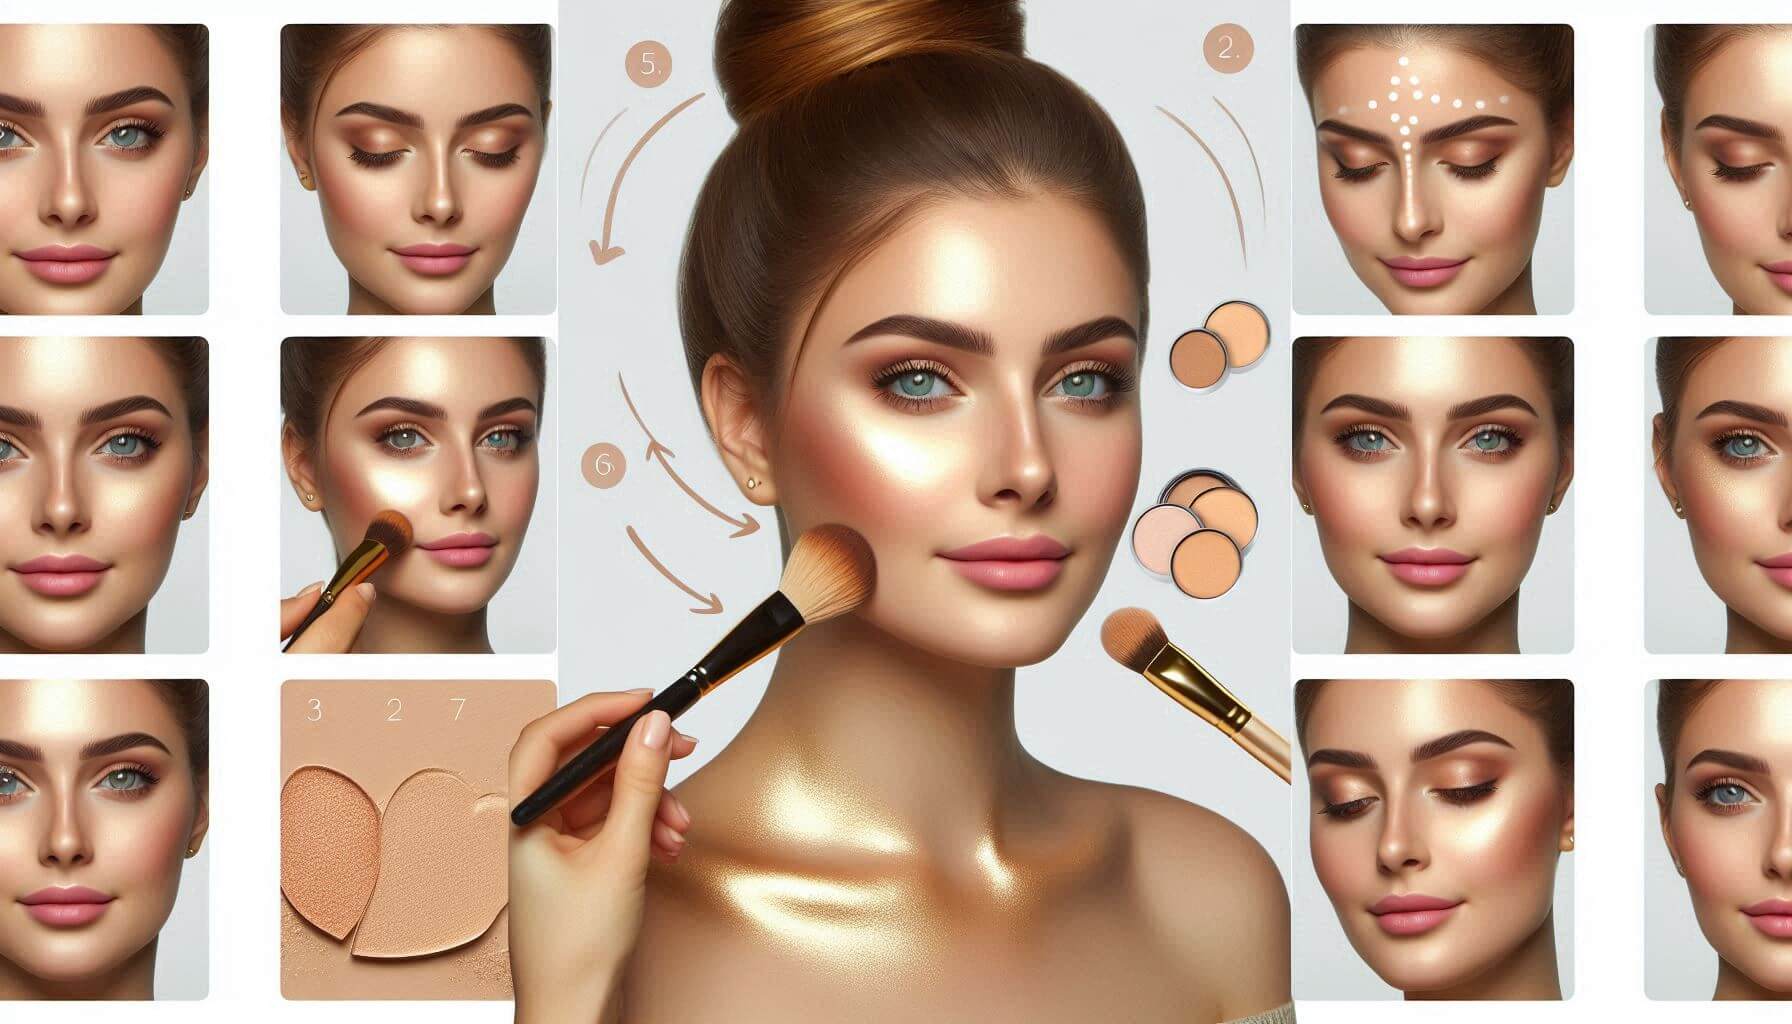
highlighter makeup use step by step
Highlighter makeup has become a beauty staple, helping to enhance your natural features by adding a radiant glow to your face. Whether you’re new to makeup or looking to refine your technique, this step-by-step guide will walk you through the process of applying highlighter for a flawless finish.
Step 1: Choose the Right Highlighter
Before you begin, it’s essential to choose the right highlighter for your skin tone. Highlighters come in various shades, from champagne and gold to rose and bronze.
- Fair to Light Skin Tones: Opt for pearl or champagne highlighters.
- Medium Skin Tones: Go for golden or peachy highlighters.
- Olive to Dark Skin Tones: Choose bronze or copper highlighters.
Highlighters also come in different formulas, such as powder, cream, and liquid.
- Powder Highlighter: Ideal for oily skin or if you prefer a subtle glow.
- Cream Highlighter: Great for dry skin and gives a dewy finish.
- Liquid Highlighter: Versatile and can be mixed with foundation for an all-over glow.
Step 2: Prepare Your Skin
Start with a clean, moisturized face. This step ensures that your makeup applies smoothly and lasts longer.
- Cleanse: Use your regular cleanser to remove any dirt or oil from your face.
- Moisturize: Apply a lightweight moisturizer to keep your skin hydrated.
- Prime: If you use a primer, apply it after moisturizing to create a smooth base for your makeup.
Step 3: Apply Foundation and Concealer
Apply your foundation and concealer as you usually would. Highlighter should be applied after these steps to ensure it blends seamlessly with your base makeup.
- Foundation: Use a foundation that matches your skin tone and apply it evenly across your face.
- Concealer: Apply concealer to any areas that need extra coverage, such as under the eyes or on blemishes.

Step 4: Apply the Highlighter
Now it’s time to apply the highlighter. The key areas to focus on are where light naturally hits your face. Here’s how to do it:
- Cheekbones: Apply the highlighter to the tops of your cheekbones. Start from the middle of the cheekbone and blend upwards towards the temple.
- Powder Highlighter: Use a fan brush or a small, fluffy brush.
- Cream or Liquid Highlighter: Use your fingers or a damp beauty sponge.
- Brow Bone: Apply a small amount of highlighter under the arch of your eyebrows to lift and define your brows.
- Tip: Use a small, flat brush for precise application.
- Bridge of the Nose: Lightly apply highlighter down the bridge of your nose for a slimming effect. Be careful not to overdo it, as too much can make your nose appear shiny.
- Tip: A small brush or your fingertip works best for this area.
- Cupid’s Bow: Dab a little highlighter on your cupid’s bow (the area just above the center of your upper lip) to make your lips appear fuller.
- Tip: Use a detail brush or your pinky finger for this precise spot.
- Inner Corners of the Eyes: Applying highlighter to the inner corners of your eyes can make your eyes appear more awake and bright.
- Tip: Use a small, pointed brush for this delicate area.
- Chin: For an overall balanced glow, apply a tiny bit of highlighter to the center of your chin.
- Tip: Less is more; you want just a hint of glow.
Step 5: Blend Well
Blending is crucial when applying highlighter. Harsh lines can make your makeup look unnatural.
- Powder Highlighter: Use a clean brush to blend the edges of the highlighter into your skin.
- Cream or Liquid Highlighter: Pat the highlighter into the skin with your fingers or a beauty sponge until it looks seamless.
Step 6: Set Your Makeup
To ensure your makeup lasts all day, set it with a setting spray or a translucent powder. If you have oily skin, focus the powder on your T-zone (forehead, nose, and chin) and avoid the highlighted areas to maintain your glow.
- Setting Spray: Hold the spray at arm’s length and mist over your face.
- Translucent Powder: Lightly dust over your face with a large brush, avoiding the highlighted areas.
Step 7: Final Touches
Take a moment to assess your look. If you feel like you need more glow, add a bit more highlighter to the areas mentioned above. Be careful not to overdo it, as you want a natural-looking radiance.
- Tip: Step into natural light to check your makeup. Highlighter can look different under various lighting conditions.
Step 8: Optional Enhancements
For special occasions or a more dramatic look, you can layer your highlighter. For example, apply a cream highlighter first and top it with a powder highlighter for extra intensity.
- Tip: Avoid applying highlighter to areas with large pores or texture, as it can emphasize these areas.
Conclusion
Applying highlighter makeup is an art that can elevate your look by adding dimension and a healthy glow to your skin. With the right tools, products, and technique, you can master this step and achieve a radiant, natural-looking finish. Remember, practice makes perfect, so don’t be afraid to experiment with different highlighter shades and placements to find what works best for you.

