Last updated on: Tuesday, 24 December 2024 08:59 PM (India Time)
How to Cut Your Own Hair Short Step-by-Step
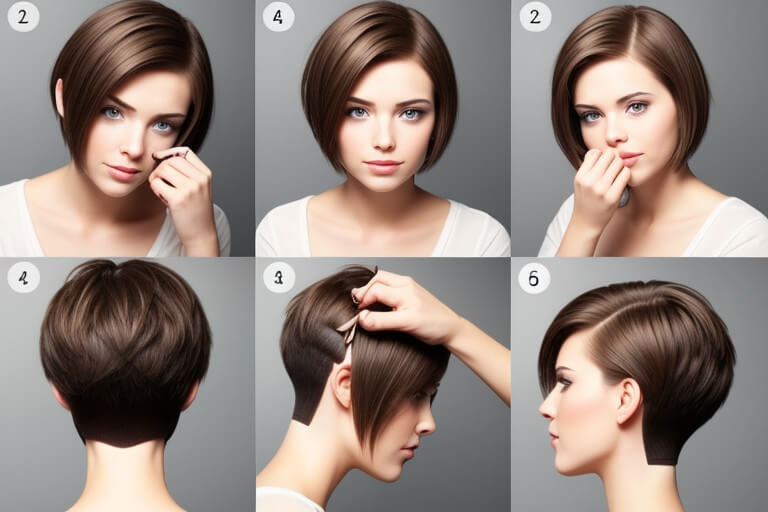
How to Cut Your Own Hair Short Step-by-Step:- Cutting your own hair short can be a liberating and cost-effective way to maintain your hairstyle. Whether you’re looking to save money on salon visits or simply want the convenience of managing your own hair, learning to cut your hair short at home can be an invaluable skill. This guide provides a detailed, step-by-step approach to help you achieve a professional-looking short haircut by yourself.
Why Cut Your Own Hair?
1. Cost Savings
Regular visits to the salon can add up, especially if you prefer to keep your hair short and need frequent trims. Cutting your own hair saves money and allows you to invest in quality hair tools instead.
2. Convenience
Scheduling salon appointments can be time-consuming. Cutting your own hair offers flexibility, allowing you to maintain your hairstyle at your convenience.
3. Control Over Your Style
By cutting your own hair, you have complete control over the length and style. You can experiment with different looks and make adjustments whenever you like.
Tools You Will Need
- Hair Clippers: Essential for achieving an even cut, especially for very short styles.
- Scissors: Hair-cutting scissors are best, but any sharp scissors will work.
- Comb: A fine-tooth comb for sectioning and managing your hair.
- Handheld Mirror: Helps you see the back of your head.
- Hair Clips: To section off different parts of your hair.
- Cape or Towel: To protect your clothes from hair clippings.
- Spray Bottle: To dampen your hair if needed.

Preparation
1. Wash and Dry Your Hair
Start with clean, dry hair. Washing your hair ensures there is no product buildup, making it easier to cut evenly. Dry hair gives you a better sense of the final length and look.
2. Set Up Your Workspace
Find a well-lit area with a mirror. Lay out your tools within easy reach and cover your shoulders with a towel or cape to catch hair clippings.
3. Section Your Hair
Use clips to section off the top part of your hair if you are not cutting it all at once. This makes it easier to focus on specific areas and ensures a more precise cut.
Step-by-Step Guide
1. Cutting the Sides
Step 1: Choose Your Clipper Guard
Select the appropriate clipper guard length for the sides. If you’re unsure, start with a longer guard and gradually switch to shorter ones until you reach your desired length.
Step 2: Start at the Bottom
Begin at the bottom of one side and work your way up, moving the clippers in an upward motion. Keep the clippers flat against your head to ensure an even cut.
Step 3: Blend the Hair
Blend the hair at the transition point between the sides and the top. Use a shorter guard to create a seamless blend.
2. Cutting the Back
Step 1: Use a Handheld Mirror
Hold a handheld mirror in one hand to see the back of your head. Use the clippers with your other hand.
Step 2: Start at the Neckline
Begin at the neckline and work your way up. Move the clippers in an upward motion, keeping them flat against your head for an even cut.
Step 3: Blend with the Sides
Blend the back with the sides by using the same guard length and technique.
3. Trimming the Top
Step 1: Release the Top Section
Release the top section of your hair that you clipped away earlier. Comb through it to remove any tangles.
Step 2: Trim the Ends
Using scissors, trim the ends of the top section to your desired length. Hold small sections of hair between your fingers and cut straight across.
Step 3: Add Layers (Optional)
For a more textured look, you can add layers to the top section. Hold sections of hair vertically and make small cuts at an angle.
4. Finishing Touches
Step 1: Check for Uneven Spots
Use your mirrors to check for any uneven spots. Make any necessary adjustments to ensure a uniform cut.
Step 2: Clean Up the Neckline
Use a smaller clipper guard or scissors to clean up the neckline. This gives your haircut a polished finish.
Step 3: Style Your Hair
Style your hair as desired using your favorite products. A bit of texturizing spray or mousse can add volume and definition.
Tips for Success
- Take Your Time: Rushing can lead to mistakes. Take your time to ensure a precise and even cut.
- Start Longer: If you’re unsure about the length, start with a longer guard. You can always go shorter if needed.
- Practice Makes Perfect: Your first attempt might not be perfect, but practice will help you improve your technique.
Common Mistakes to Avoid
1. Cutting Too Much Too Soon
It’s better to cut gradually and make adjustments rather than cutting too much hair at once. You can always trim more, but you can’t put hair back once it’s cut.
2. Skipping Sections
Make sure to section your hair properly and cut methodically. Skipping sections can lead to uneven results.
3. Ignoring Your Hair Type
Consider your hair type when cutting. Different hair textures may require different techniques. For example, curly hair often needs to be cut dry to ensure an even length.
Conclusion
Cutting your own hair short at home is a practical skill that offers numerous benefits, from saving money to having complete control over your style. By following this step-by-step guide and using the right tools, you can achieve a professional-looking short haircut. Remember to be patient, take your time, and practice to perfect your technique. With these tips, you’ll be able to confidently cut your own hair and enjoy the convenience and satisfaction of DIY haircuts.

